Thursday, September 6, 2012

RV Remodel 11

 
It took longer than expected to find and fix all the leaks we had.  We thought the roof was fixed then once we pulled it out of the barn and it rained a few time we found one leak after another!  We decided to just redo the roof and Dear Hubby has an Uncle who has helped so much. 
 
 
New Roof
 
Once we got the roof finished we had to wait for it to rain again to make sure nothing leaks.  Luckily we live in Florida so it's only a day or so wait for a rainstorm to come.
 
The New Roof DOES NOT leak
Now the walls are weeping!
 
By now I am so frustrated that I can not even go out there and look anymore!  Luckily I have a very patient hubby that started with one window again and worked his way all the way around the outside of the trailer.  He caulked all the windows again since the first stuff we used was a total waste!  It just turned to Elmer's glue and washed off...... 
It said interior/exterior window and door, you would think it would have worked.
 
We think that the majority of the leak was coming from the rear side corner trim and then dripping down into the aluminum framing channel and when it filled up it would overflow and look like the walls were weeping. 
 
I am so glad that this phase is OVER!  I want to get back to working on it again. 
 Dear Hubby spray foam insulated the walls. (Which he got from his ever so helpful Uncle again!)  We really couldn't do this without him!
 
Foam insulated wall

Bathroom wall
 
We had just enough to do 3/4 of the trailer.  We are just going to use the leftover pink insulation on what was left. 
 
We are going Friday to find paneling for the walls and the ceiling.  I am thinking we are going to splurge on an air nail gun.  We can use it on the walls, ceilings, and the cabinets too.  ( I do love me some power tools!)
 
I am excited to be continuing on and so happy that the leak phase is OVER!  Once we get the paneling up we'll paint it white and begin on framing in the bathroom and the kitchen area wall with wardrobes and cabinets.
 
I found a futon with drawers under at Target a few weeks ago for only $99.  I  went ahead a got it since we are delayed a bit in the remodel.  It's going to be in the front area for Boy F to sleep on.  I also found flannel backed curtain panels at Target for $9 each.  I bought the longest ones I could find (84") so that I can cut and resew for all the curtains.
 
Wish us luck!
 
Until next time.....
 
Bonnie


Wednesday, August 15, 2012

RV Remodel 10

All the pictures I take seem to look alike right now.  We have done a lot of work on the trailer but not too much was picture worthy.  We finished resealing the last window.  The running lights have all been replaced.  Dear hubby re-installed the water heater & re-wired the electrical cord through the access door.  We are almost ready for a leak test.

Electrical box re-wired.


Dear hubby lifted the a/c unit out of the roof.  From all of the grunts and strains I heard it must have been pretty heavy!  There was a gasket under it but it was pretty smashed in a few areas so I think that is where our leak came from.  He scraped off the old gasket (didn't look easy!) and replaced with a new one.  Re-installed the a/c unit (didn't look easy!), then tried to remember how to re-assembly the parts (wasn't easy!). 

Removing A/C unit gasket


Dear hubby put ALL the aluminum window awnings back on the camper!
 I won! I won! I won! I won! I won! I won! I won! I won!I won! I won! I won!  Enough with my victory dance!  He still doesn't like them but I think they serve their purpose well in protecting the windows while traveling and while it's sitting on the property in Alabama when not in use.  Besides it will keep the interior fabric from fading from the sun.... I still won!

Ok, now back to the remodel.  We think we sealed all the spots/holes that leaked so Dear hubby backed it out of the barn for a leak test.  It was a pretty tight fit to get it out of the barn.  But he did a great job and we started the water test once he got it parked.

The only two places we could find were the bathroom window leaked at the top of the frame.  We removed the window and the frame flange was a little bent from the screw holes so it will get re-butyl taped and since it's a window without a window covering I am thinking an eyebrow above will help with the water running straight into the window frame and some silcon caulk too.

The other place that leaked was the center running light on the rear top.  A little silicon caulk and that should fix that problem.

Now we are waiting for an electrician friend to come today to re-wire the outlets.  The old ones were kinda scary looking.  He will also be adding three extra receptacles. Two for the TV's and one for a microwave above the refrigerator.

New electrical boxes, receptacles, & plates, hope I got the right stuff!

Here's a parting shot of the trailer.  I taped off the floor where we can see the layout.  Once the electrician is done we plan on doing one more leak test then off to buy insulation and paneling!  Wish us luck!

Until next time.....


Bonnie


Tuesday, August 7, 2012

RV Remodel 9

We are almost done with the windows.  Waiting for more butyl tape to arrive.  We try to do something everyday but some days it's like nothing will go right!


Looking down the side.  All these windows removed, washed & re-sealed!

Trying to find the screws for the front awning over the window.  Every screw head was rusted off and covered with caulk!  The trim was so brittle it would just shatter if you poked it.

One of the running lights on the front.  I do not know how I am going to get all that caulk off.  What a mess!

Boy F. helping me out.  He's telling me how he should "save" this for his Dad.....


Front window finally out! 
 Now we just have to clean all the old butyl tape off the window and the siding and wait for more to arrive.

I got the light loose and some of the caulk off but it took the paint off too! 

Dear hubby did a test on the running lights to see if they worked.  Of the 11 only 3 didn't work!  Good job now he's going back to work on them.

We removed the A/C unit from the trailer to see why it leaked there.  We found that there was no gasket under the unit on the roof!  Now were waiting for that to come in.

We're hoping that this weekend we'll have it ready for a leak test!  Dear hubby can't wait to get the trailer out of the barn.  He says it's too cramped.

Look at this!

It's the aluminum awning back on the camper! 

It's the only one though, he still doesn't want them on there, I've got to be a little more persuasive on the other three!

Until next time....

Bonnie

Saturday, August 4, 2012

RV Remodel 8

Things are back on track now that we're back from our little vacation in St. Augustine.  We've missed working on the camper.  Dear hubby has to work six days this week so it will be a little slow going right now. 

He did get the top trim on the door side removed and sealed the top seam with eternabond tape.  This tape is wicked!  It's all hid behind the trim so you can't see the 4" wide black tape.  There were a lot of  EXTRA screw holes under that trim. 

Our next project was the rear window.  It took him a while to remove the aluminum window covering.  Not only were the screws stripped but the window frame was rotten and then the caulk was like cement! 

I was worried that if Dear hubby took off the Aluminum window covering that he would accidentally on purpose forget to put it back on...... we'll see!


Window covering off finally!  Now 35 screws to go!


Window almost out, prying away from concrete type caulk.


Window out!
Rotten window on top of window frame.
How am I going to get that caulk off?

Fixing the window frame.

I have to tell you about Butyl tape.  This stuff comes in a roll about 20' and is 1" wide.  It resembles gum.  Because we live in Florida and it's only about 110 degrees right now we have have to keep the butyl tape cool in the refrigerator.  Once we take it outside we have about 20 minutes until it starts to string like bubble gum.  We are up to about 10 rolls so far! 

Once Dear hubby removes the window, I scrape off all the old butyl tape from both the window itself and the aluminum siding around the window.  I use an old sock and Acetone to clean the area too.  Once all that is done I run and get the butyl tape from the house and apply it to the window frame.  It cuts pretty easy with scissors while it's cold.  It has a wax paper on the tape that once I apply I press down all the way around the frame then remove the paper backing. 

Dear hubby puts the window back into the frame and starts replacing all the screws. 

Window resealed and replaced!  We have two down and 5 more to go!  Wish us luck.

But where is the Aluminum window covering???????

You'll have to wait and see.....

Until next time.....

Bonnie

Wednesday, July 25, 2012

RV Remodel 7

Girls can use power tools too! 

Quality family time is when your 10 year old daughter ask her dad if she can use the drill to unscrew something!  Dad put her to work removing "eyebrows"? above the doorways. 

I think she did a great job and did it all by herself!


I'm thinking Girl M need a cordless screwdriver for her birthday!

Dad showing Girl M how to re-install the refrigerator vent.

"Dad, I got this!"


Dear hubby told be to blog about the one piece we DIDN'T have to buy for the RV!  It's a roof vent cap we had laying around, he thinks that's recycling......


Skylight vent in front living area repaired with metal and caulked.  No more leaks from this one.  Now he has two more to go!

Kitchen window re-installed & butyl tape trimmed. 

 Furnace vents replaced with metal backs and re-installed.  Butyl tape not trimmed yet.

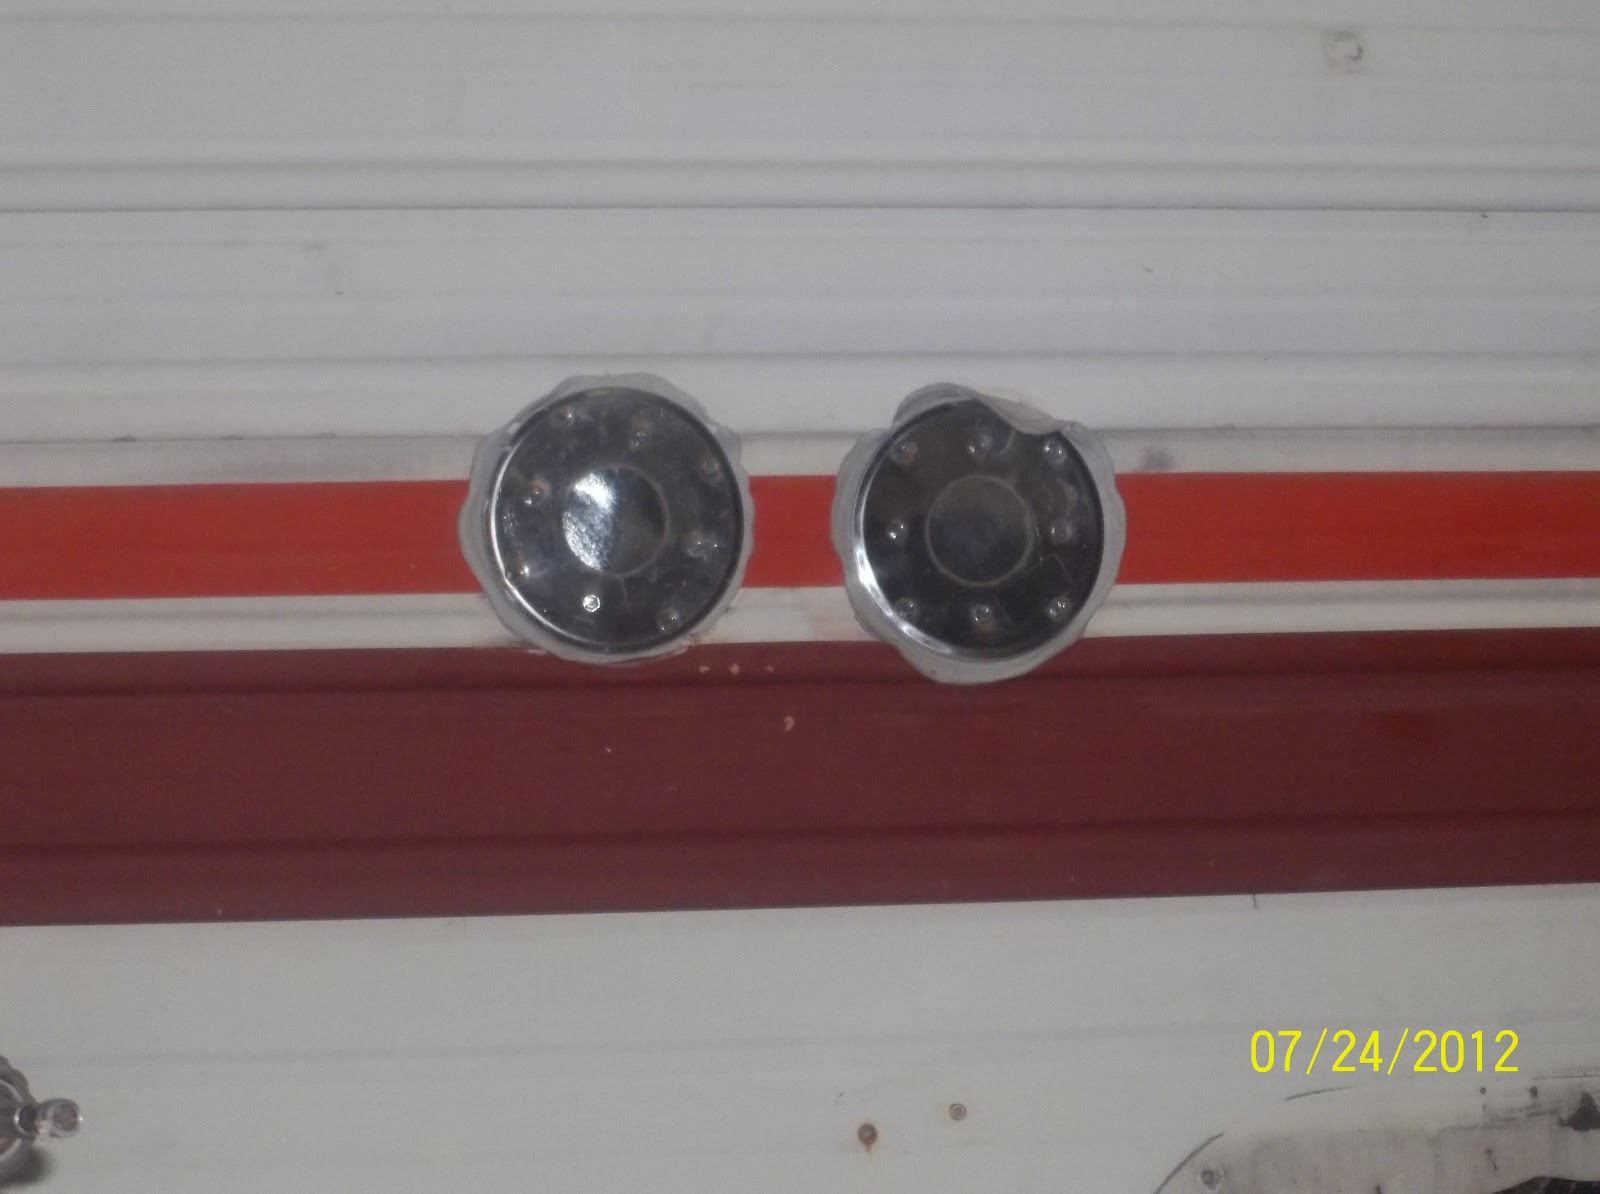
Porch light that needs replaced above kitchen window.  Testing to see if it even works.  Nope, add that to the list of things to get.

This is the vinyl tile sample we bought to see how we like it.  Boy F. calls this color "camouflage".  I think it will not show clay and dirt too bad.  I'm liking the color now.


Next on our project list is to:
Replace exterior lights-bought & ready to install
Replace antenna-ordered & on it's way
Reseal corner seams
Reset 6 more windows & 1 more door, reinstall eyebrows
Do a leak test on the roof......

Then we'll be able to start inside on the exciting stuff!

Until next time.....

Bonnie


Tuesday, July 24, 2012

RV Remodel 6

Our next project is fixing the bathroom area floor.  We are not going to put a shower/tub back in.  We have decided that since the hunt camp has a nice shower that we would just put in the toilet and a sink.  I think I would rather have the leg room.  Also, if we camp in it at State parks we shower in their bath houses anyways.

The plumbing under the tub.

Floor under tub fixed.

 Wheel well on kitchen wall boxed in.  The wall is sturdy now!  Boy F. calls this black water tank vent pipe on the right a stripper pole..... Boys!

Framing almost complete!  Looking from rear bedroom to living area in front.  Hubby is progressing right along!

Looking from kitchen area to rear.

Antenna removed, new one ordered, ready to be installed when it arrives.

Roof vent in living area.  Removing!

Dear hubby and I are arguing over these aluminum window awnings.  I LOVE them.  He HATES them.  He wants to eventually repaint the trailer and I think that we should just repaint the awning to match......  We'll see who wins this battle!

Until next time.....

Bonnie

RV Remodel 5

Our next project was to work on the hot water area that was under the rear bed.  We noticed some damage along the bottom wall framing.  Luckily it was the only damage on that side! 

We had to remove the hot water heater to get a good look at what was happening.

 Water heater removed.  Damage to flooring and bottom of framing.


Peeling up the linolium to see how far the damage on the floor was.  Luckily this was the only part of the floor that had any damage.

Jig saw out cutting up the rotten floor.

Our dog Lulu likes the new opening in the side.  It's just her size!

 Under the bed where the electrical panel is and the hot water heater.

Flooring cut away ready to put in a new piece of plywood.  We are also moving the electrical box so that you can also reach it from the outside storage under the bed.
Flooring patched and new bottom framing done!  Another side down!

Dear hubby had enough time before going to work to replace some of the rafters over our bed.  He gets alot done in a little bit of time!

Until next time....

Bonnie